

In the world of One Piece, Conqueror’s Haki is already a power that can affect others from afar. By simply releasing their aura, the user can cause weaker-willed individuals nearby to instantly lose consciousness.
Luffy demonstrated this on Fish-Man Island when he knocked out around 50,000 of Hody Jones’ soldiers with a single burst of Conqueror’s Haki.
However, when Conqueror’s Haki reaches a higher level, its applications become much more interesting. Instead of just suppressing opponents, the user can coat their body or attacks with it to boost combat power.
As a result, advanced Conqueror’s Haki is often linked to devastating close-range fights. But there are special cases proving this Haki can also deliver impact from extremely long distances.
Here are the four most notable examples.
1. Shanks Pressures Ryokugyu with Conqueror’s Haki
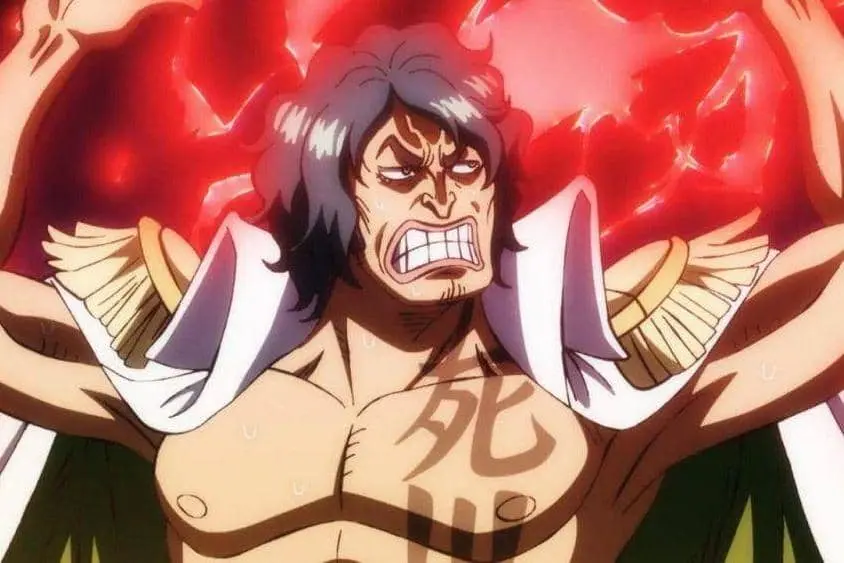
This is perhaps the most famous proof that Conqueror’s Haki can affect opponents from a great distance.
At the time, Shanks was off the coast of Wano, while Navy Admiral Ryokugyu appeared near the Flower Capital hunting Luffy. Despite the huge distance between them, Shanks’ Conqueror’s Haki reached Ryokugyu’s location.
What’s terrifying is that Ryokugyu not only felt the overwhelming pressure but immediately stopped his actions. He even recognized Shanks as the source and heard the Yonko’s warning.
This moment shows that Shanks’ Conqueror’s Haki range and pressure have reached an almost unimaginable level.
2. Joy Boy’s Explosive Conqueror’s Haki
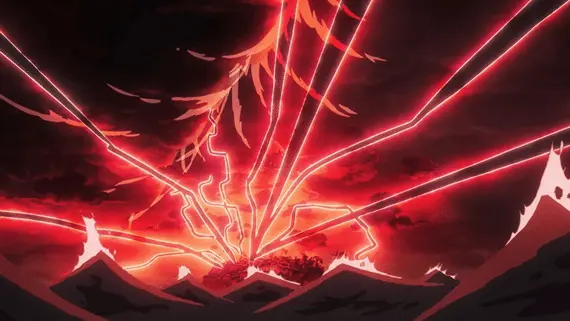
When it comes to the strongest long-range Conqueror’s Haki attacks, few examples surpass the amount Joy Boy left inside the giant robot Emeth.
When Emeth unleashed this power at Egghead, the battlefield was immediately shaken. Among the World Government forces remaining on the island, only Kizaru and Saint Jaygarcia Saturn stayed conscious. All Vice Admirals and lower-ranked fighters were knocked out by the overwhelming pressure.
But its impact went beyond just knocking people out. The Four Emperors who appeared at Egghead in monstrous forms were severely affected. Entities like Nusjuro, Warcury, and Ju Peter, who arrived at Egghead via teleportation linked to Imu’s power, were pushed back to Mary Geoise right after being hit by this Haki.
Only Saturn remained because he came to the island by sea. Even more notable was Imu’s reaction. At Mary Geoise, Imu was seen panicked and kneeling when Joy Boy’s Haki was activated.
3. Scopper Gaban’s Kamudo
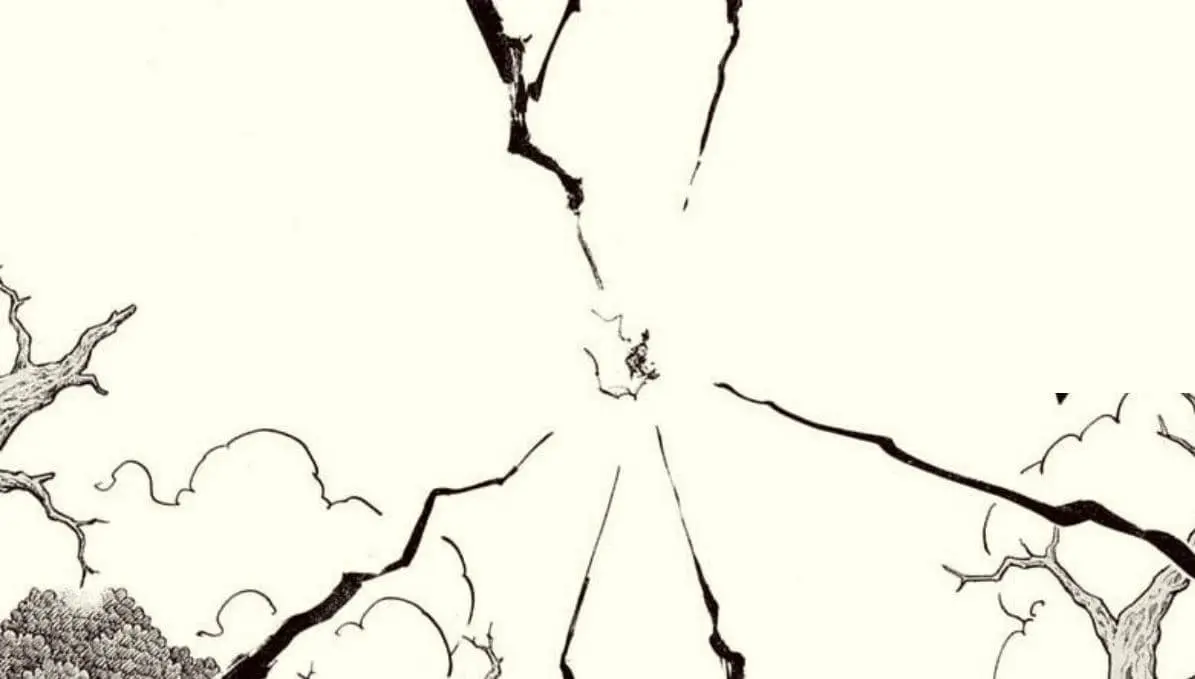
Kamudo is a technique that made many One Piece fans rethink the idea of long-range Haki attacks.
During his battle, Scopper Gaban leapt into the air preparing a powerful axe swing. However, what flew toward the target wasn’t the axe blade but a bolt of black lightning, a familiar sign of advanced Conqueror’s Haki.
Usually, black lightning is just a visual effect showing Conqueror’s Haki coating an attack. But with Kamudo, it seems to deal real damage. This energy struck the Adam tree and hit Nerona Imu from a distance.
This shows Gaban’s ability to turn Conqueror’s Haki into an independent attack without direct contact. Interestingly, before using the move, Gaban complained about his joint pain, making many wonder how terrifying Kamudo would be if used by Gaban at his prime.
4. Yachitakeru
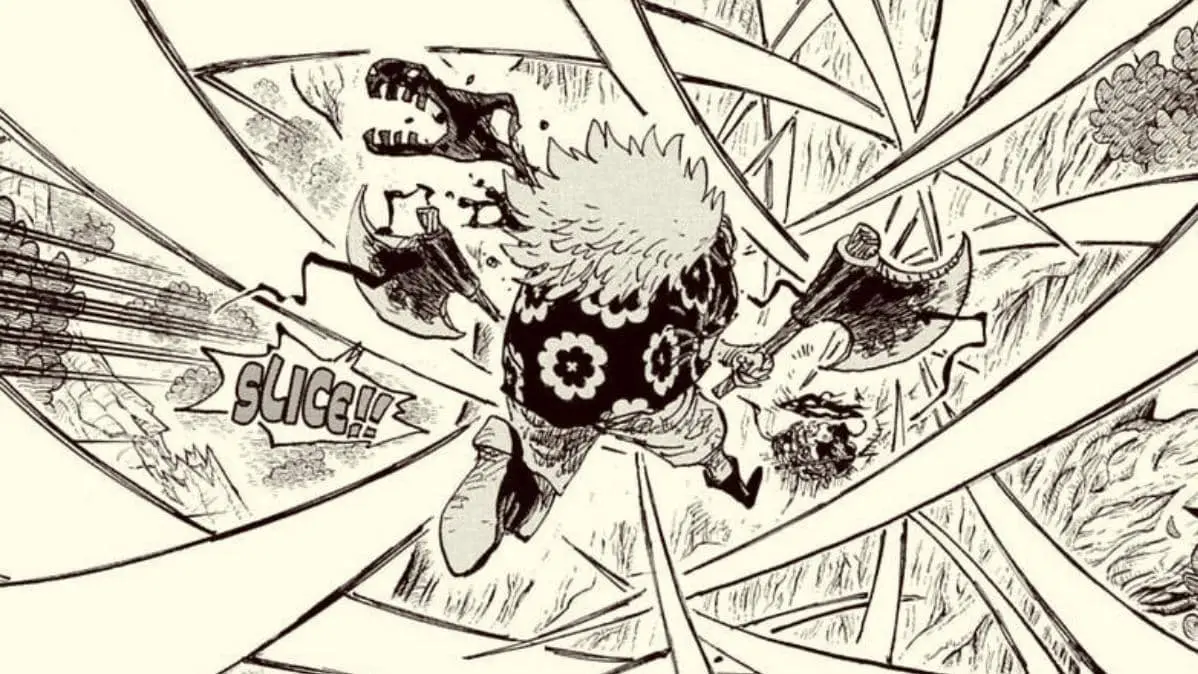
Before unleashing Yachitakeru, Gaban used Yasotakeru when facing Luffy and Zoro early in the Elbaph arc.
That attack was strong enough to destroy a tower at Aurust Castle and immediately put Luffy and Zoro on alert. But Yachitakeru is even more fearsome.
Gaban coats both axes with Conqueror’s Haki and launches a series of slashes that can reach opponents from a distance. Black lightning continuously crackles around his weapons, confirming this is advanced Conqueror’s Haki. The most terrifying part is the target of this technique.
Nerona Imu, who previously showed almost no reaction to attacks from Zoro, Sanji, and other strong fighters, was forced into a defensive stance when facing Yachitakeru.
Moreover, the attack can partially cut through the Adam tree.